Load balancing two Azure WebAPP with nginx

In the previous post we saw how to install a ngin-x server. One of the capabilities that have ngin-x is to be a powerful proxy server, used as a load balancer. In this post we will see how to use it to balance the load of two WebAPPs (could be as many as were necessary). This scenario presents a feature that requires slightly modify the normal procedure for this operation.

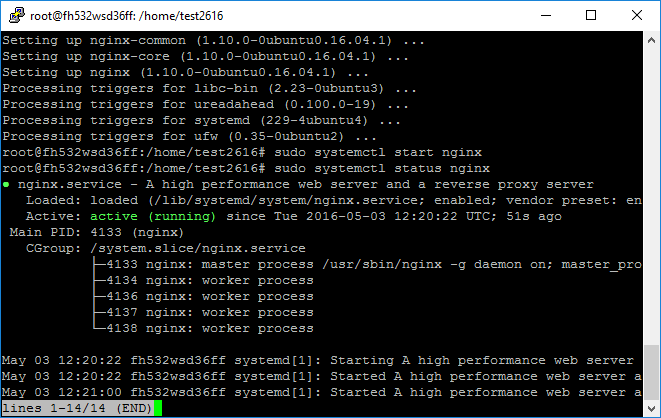
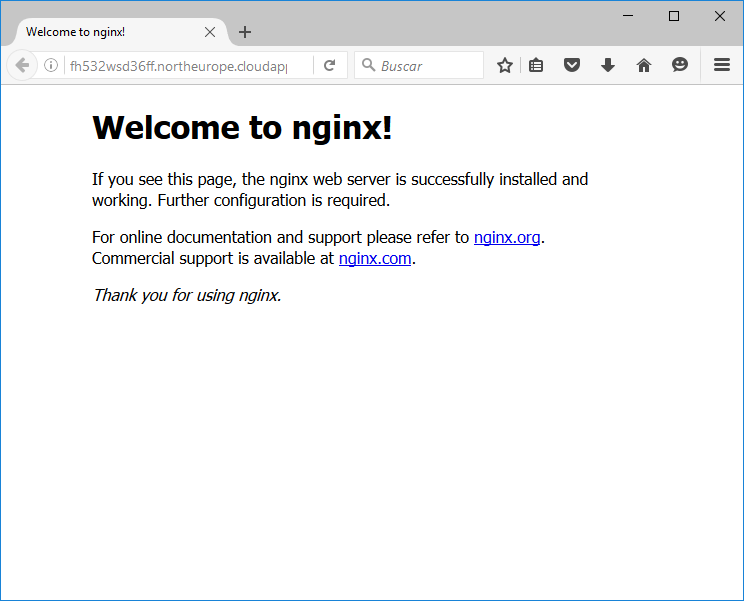
We start from a linux machine with NGIN-x installed, as seen in the previous post.

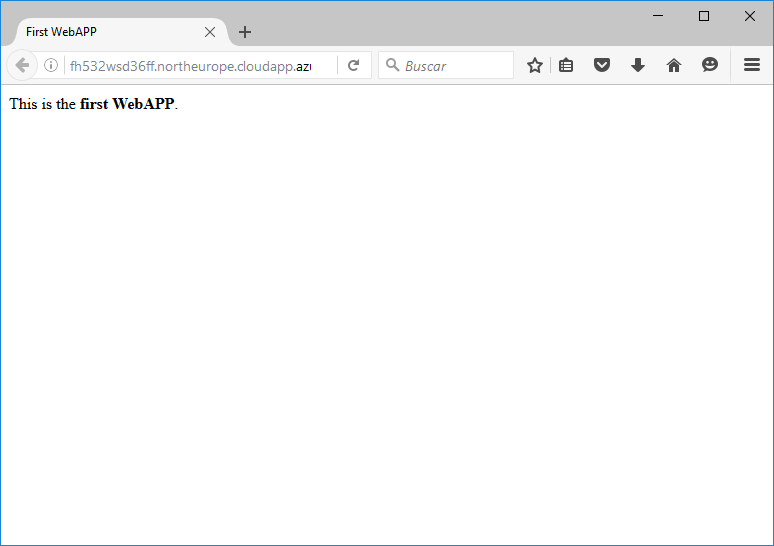
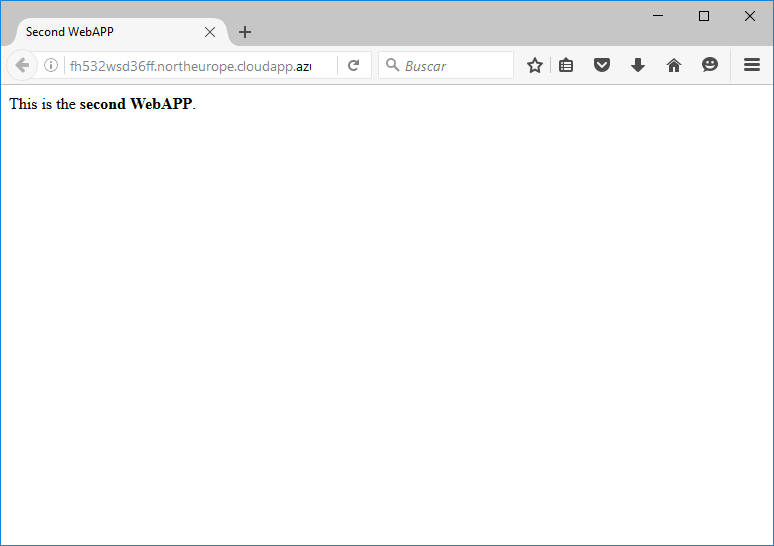
In addition we will create two simple WebAPPs, with a message that differentiates each of them, for example, as shown in the following images:

20160505_NGINX_WebAPP_Paso02

20160505_NGINX_WebAPP_Paso03

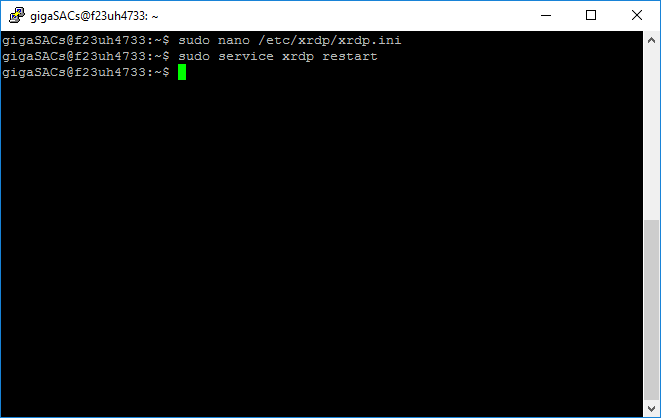
Then we will set up ngin-x following the normal guidelines. We entered the linux server console and edit the configuration file with nano for example:

sudo nano /etc/nginx/nginx.conf

And modify the script so it looks like the following code:

user www-data;
worker_processes auto;
pid /run/nginx.pid;

events {
     worker_connections 768;
     # multi_accept on;
}

http {
     upstream bloqueprimerproxy {
          server xxURL1xx.azurewebsites.net;
          server xxURL2xx.azurewebsites.net;
     }

     server {
          listen 80;
          server_name   localhost;

          location / {
               proxy_pass http://bloqueprimerproxy;
               proxy_set_header  X-Real-IP  $remote_addr;
          }
     }
}

Where xxURL1xx.azurewebsites.net and xxURL2xx.azurewebsites.net are the URLs of the two WebAPPs to balance.

We save the code and restart the NGIN-x service:

sudo service nginx restart

The above script would be the normal way to balance two WEBs with ngin-x. But if we tried now we get the following error:

20160505_NGINX_WebAPP_Paso01

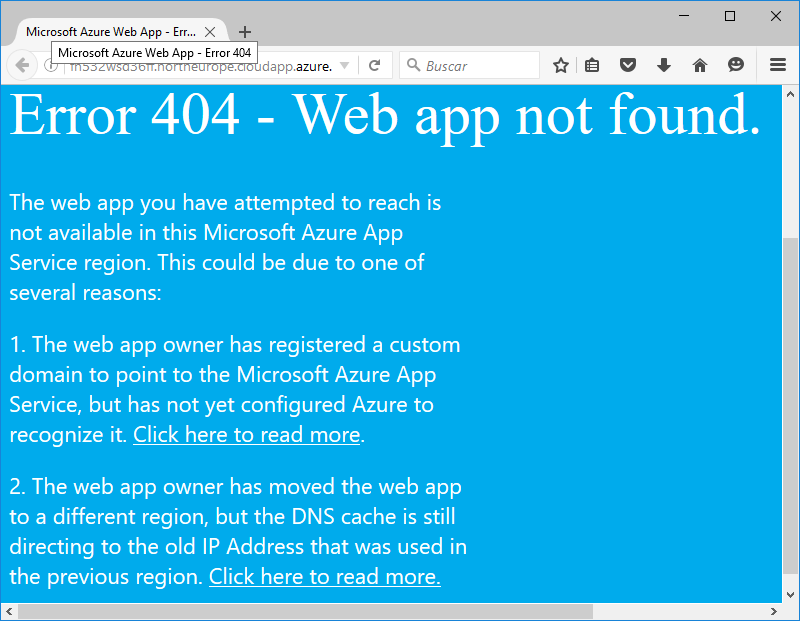
This is because Azure App Service uses cookies to ARR (Application Request Routing). You need to ensure that the proxy passes the header correctly to the WebAPP so that it identifies the request correctly.

For this we edit again the configuration file and leave it as follows:

user www-data;
worker_processes auto;
pid /run/nginx.pid;

events {
     worker_connections 768;
     # multi_accept on;
}

http {
     upstream bloqueprimerproxy {
         server localhost:8001;
         server localhost:8002;
     }

     upstream servidor1 {
         server xxURL1xx.azurewebsites.net;
     }

     upstream servidor2 {
         server xxURL2xx.azurewebsites.net;
     }

     server {
          listen 80;
          server_name   localhost;

          location / {
               proxy_pass http://bloqueprimerproxy;
               proxy_set_header    X-Real-IP    $remote_addr;
          }
     }

     server {
          listen 8001;
          server_name   servidor1;

          location / {
               proxy_set_header Host xxURL1xx.azurewebsites.net;
               proxy_pass http://servidor1;
          }
     }

     server {
          listen 8002;
          server_name   servidor2;

          location / {
               proxy_set_header Host xxURL2xx.azurewebsites.net;
               proxy_pass http://servidor2;
          }
     }
}

Where as before xxURL1xx.azurewebsites.net and xxURL2xx.azurewebsites.net are the URLs of the two webapps to balance.

In this script we apply a double proxy, so that we balance the input against the same ngin-x, attacking the ports 8001 and 8002, which headed to the webapps, but adding to the header the real WebAPP url.

After recording the script and restart the ngin-x service, if we navigate to the ngin-x server, we see that we are balanced from one to another web without problem.

To learn more about balancing modes available on ngin-x you can see this link.


Installing Nginx on an Azure Linux Ubuntu 16.04 VM

In this post we will see how to install nginx on a Ubuntu Linux 16.04 LTS virtual machine on Azure. This is one of the best HTTP servers and reverse proxy, and also an IMAP/POP3 proxy. It is open source.

Let’s assume that we have deployed the Linux virtual machine on a basic state. Otherwise, as summary, the steps are:

– Create a virtual machine from the gallery with Ubuntu 16.04. You can see my post about creating Linux VM.
– Change the default ssh port. You have instructions to do it in Azure in my post about it.
– Upgrading the system, connecting to a console session and running:

sudo apt-get update
sudo apt-get upgrade

This step is always recommended before installing a package (except production servers with previous production packages, that you have to consider whether or not it is convenient).

As we will install an HTTP server, if you have got a previous http server like Apache, you have to uninstall it to prevent conflicts.

Once the machine is ready to install nginx, from the ssh console run:

sudo apt-get install nginx

And finally we start the nginx service with:

sudo systemctl start nginx

Check that the service is active with:

sudo service nginx status

It provides service information that will be similar to the following screen:

20160505_Install_NGINX_Paso02

Now, we have installed nginx, with its default settings to port 80. If we go to the machine, trhought that port, the next page appears:

20160505_Install_NGINX_Paso03

For more information about nginx you can find it on this link.

Changing SSH and XRDP ports in a Azure Linux virtual machine


A basic safety recommendation is to change the default connection ports of a system for the various available communications services. Let’s see how to change the ssh and xrdp ports on a Azure Linux virtual machine.

Change ssh port

Immediately after creating the virtual machine, the default port is 22. You can connect to the machine through its public IP or DNS with a client like Putty through that port. Edit the configuration file with nano for example:

sudo nano /etc/ssh/sshd_config

And we change where it says port 22 by the value we want (eg I put 40167):

20160401_CambioSSH_Paso02

Now to restart the ssh service, run:

sudo service ssh restart

We close the remote session that we are running, that still go through the port 22. Now we need to edit the security rule in the control panel of the virtual machine to reflect the change in port. To do this, we look for the machine in our Azure subscription, for example, in my case it is called f23uh4733:

20160401_CambioSSH_Paso04

Click on the entry safety rules option:

20160401_CambioSSH_Paso05

And we double click on the current rule for port 22:

20160401_CambioSSH_Paso06

And you must modify the value of the port 22 to port defined in the configuration file:

20160401_CambioSSH_Paso07

Pressing save after modification. The rule will take a few seconds to be applied.

Installing a remote desktop and xrdp port change

Now we will install a remote desktop. This will be necessary if Linux is a server image for example. Keep in mind that xrdp since Ubuntu 12.04LTS does not support Gnome Desktop, so we’ll use xfce.

First we install xrdp, executing the following command at the terminal:

sudo apt-get install xrdp

20160401_CambioSSH_Paso08

After the installation of xrdp, we must install xfce, running the command:

sudo apt-get install xfce4

20160401_CambioSSH_Paso09

The next step is to configure xrdp to use xfce. Run the following command:

echo xfce4-session >~/.xsession

20160401_CambioSSH_Paso10

Once installed the desktop, we will change the default port for remote connection. We use an editor, for example nano, to modify the xrdp configuration file. Run the command:

sudo nano /etc/xrdp/xrdp.ini

And modify the port with the desired value, in this case for example the port 40168:

20160401_CambioSSH_Paso12

We record the changes and restart the xrdp service to take effect, using the following command:

sudo service xrdp restart

20160401_CambioSSH_Paso13

Once you have configured the port, as before, we need to create the security rule that allows us to access. To do this we return to the list of rules of entry, and click the add button:

20160401_CambioSSH_Paso14

And we add a rule indicating the destination port that we have set in the previous step:

20160401_CambioSSH_Paso15

Press save button and wait for the rule to apply. After, we can open a remote desktop connection to the machine by the port:

20160401_CambioSSH_Paso16

We have to identify us with a UNIX user. If you have not created any, the administrator user serve us:

20160401_CambioSSH_Paso17

And we access the Linux desktop machine:

20160401_CambioSSH_Paso18

Linux_Azure_Creation

Creating a Linux VM in Azure

Within the Azure marketplace we have multiple images ready to deploy. Among them are several distributions of Linux created by several companies, with several preinstalled packages if necessary.

Creating a Linux virtual machine

Let’s see the entire process of provisioning a virtual machine (IaaS) with an image of Canonical Ubuntu Server 15.10.

Step 1

We entered our Azure subscription and click on virtual machines:

20160311_CreaciónVM_Paso01

Step 2

Click on add new virtual machine:

20160311_CreaciónVM_Paso02

Step 3

We search and select the image Ubuntu Ubuntu Server 15.10 Canonical:

20160311_CreaciónVM_Paso03

Step 4

The description of the VM image is showed, and we can choose whether we want in classic mode or resource manager. We will choose resource manager. You can see the differences on this link. Press create to start the process of provision:

20160311_CreaciónVM_Paso04

Step 5

Now, you can fill the basic data of the virtual machine, with special attention to the geographical area of deployment and the resource group to which to assign. Select the location closest to where you want to give the service or one where you have all your virtual data center.

With regard to the resource group, remember that everything you bring inside will not restart simultaneously in the mantenimience operations, so its use is for high availability situations.

In this step you will define the root user and password, so please assure that the data is correct.

After filling all press accept.

20160311_CreaciónVM_Paso05

Step 6

You must now select the size, which defines the cost of the machine. Choose the one you needed depending on the estimated use. The DS series, with SSDs are suitable for LAMP services for example.

20160311_CreaciónVM_Paso06

Step 7

In this step you will configure additional options, such as network, storage type and others. When you finish, please press accept. If you do not yet know these concepts in Azure, the default options will be fine to start.

20160311_CreaciónVM_Paso07

Step 8

A summary of the process is presented and a final confirmation is requested. If all is well, press accept and begin to supply the machine. If not, you can go back to correct it.

Creación VM Ubuntu

In the notification area you will have a notice of the process progress, as well in the main panel.

Once the deployment is complete, which may take about 5 to 10 minutes, you can connect via SSH with a client like Putty, using the public IP of the machine and against port 22, with root user that was defined in the basic options in step 5.

However this default setting is not the safest. In a next post we will see how to change the default ports and install a desktop for remote access. Later we will see how to configure the server to make a LAMP stack.